Introduction
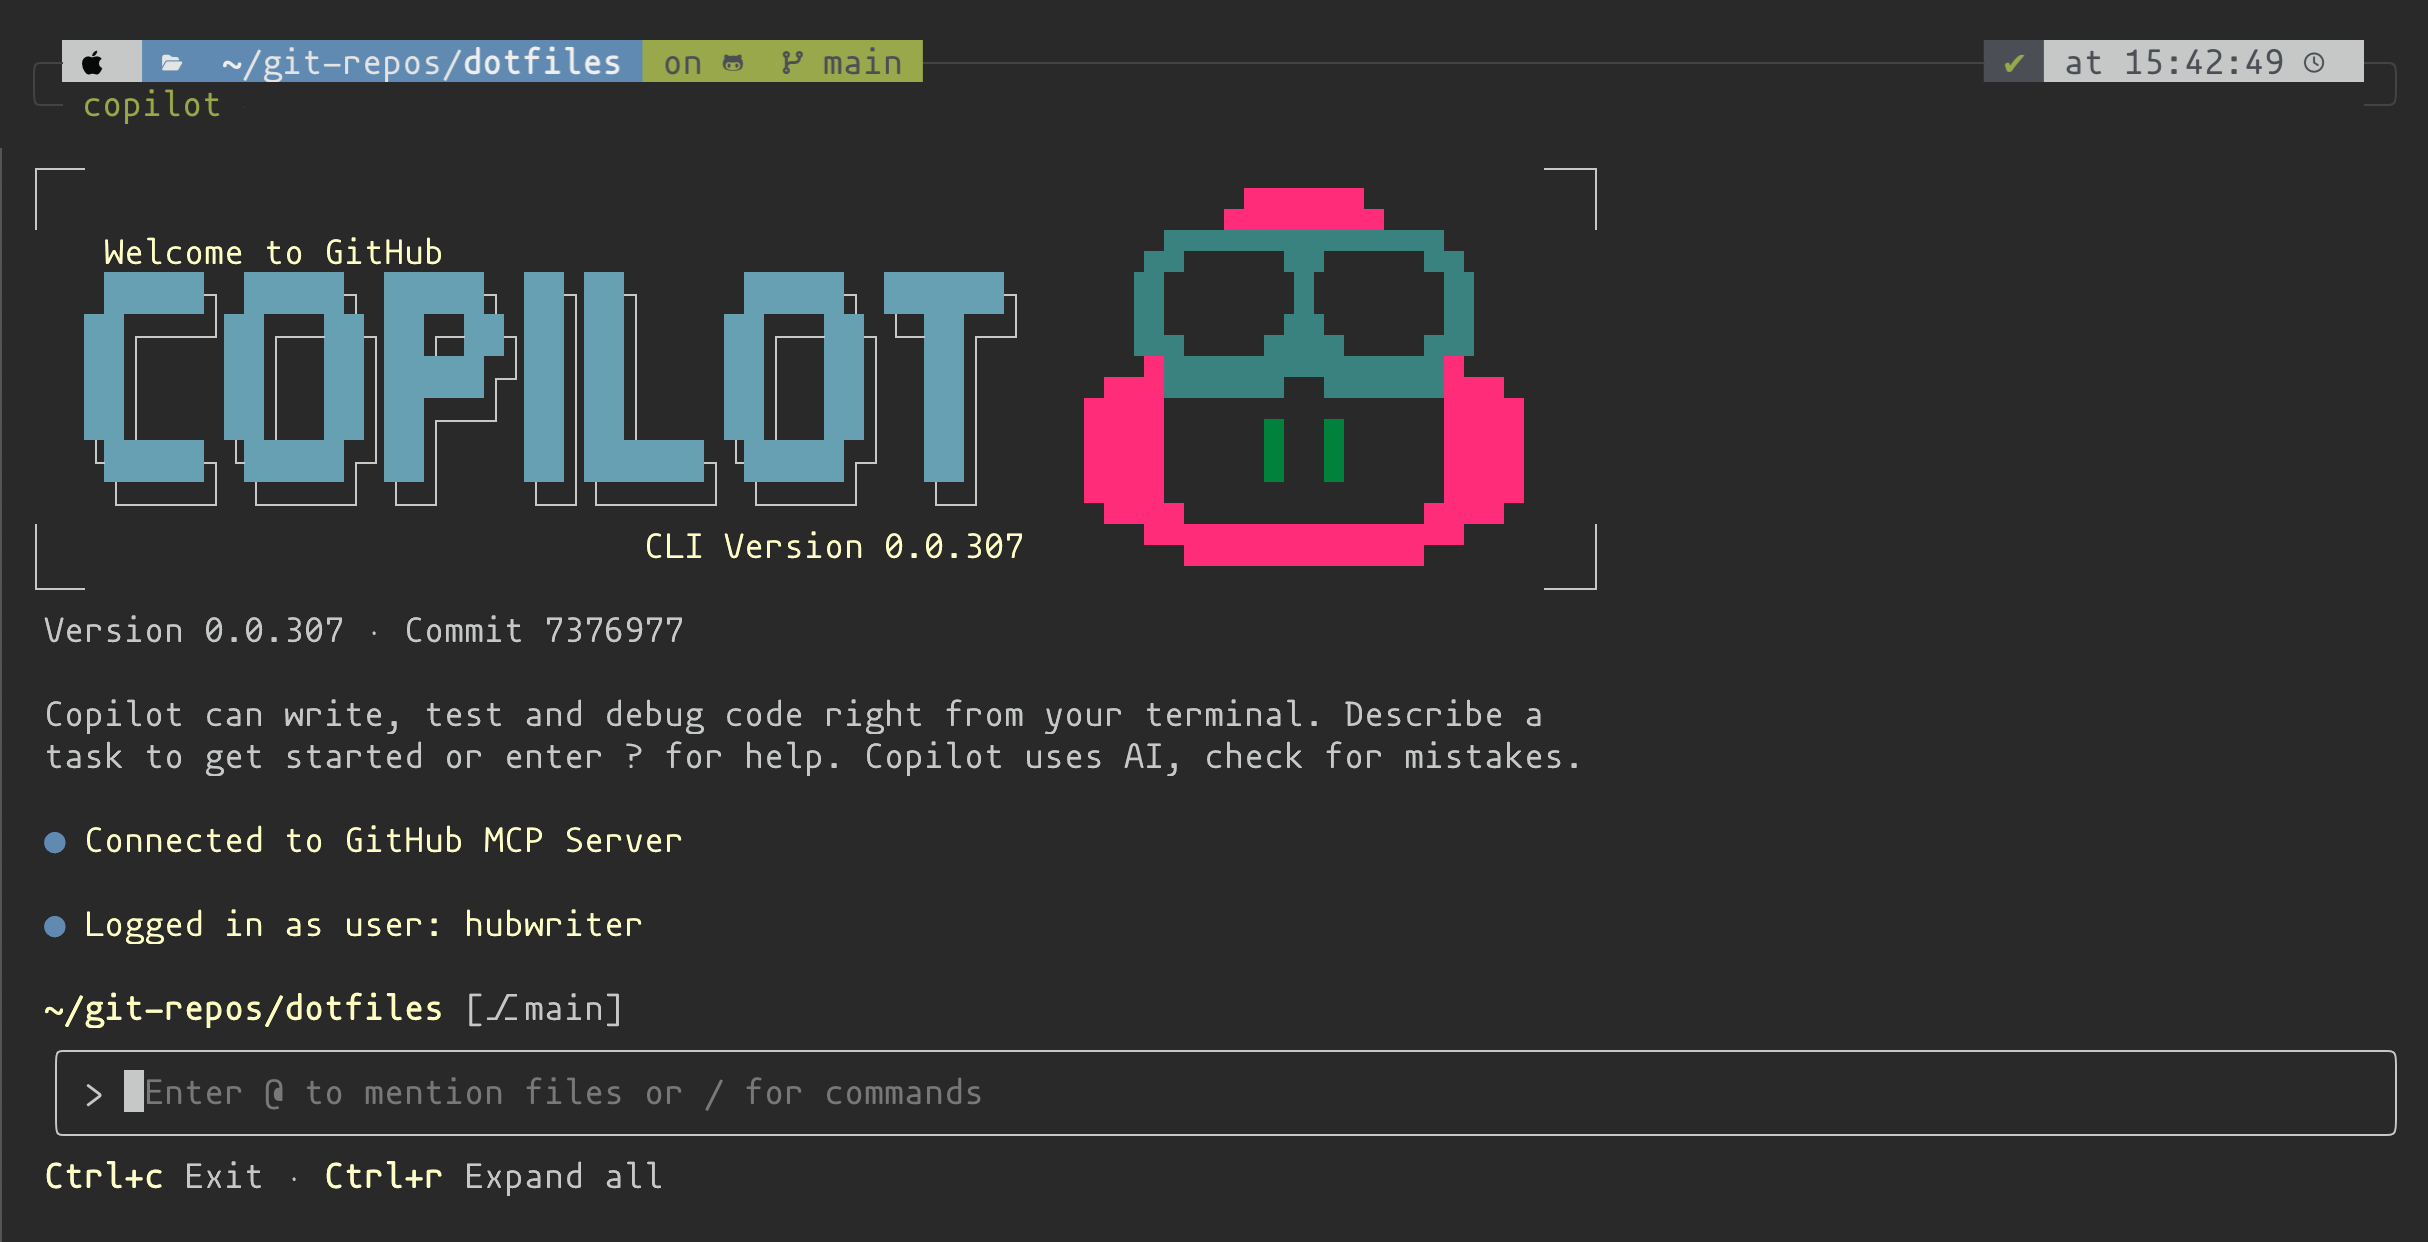
The command-line interface (CLI) for GitHub Copilot allows you to use Copilot directly from your terminal. You can use it to answer questions, write and debug code, and interact with GitHub.com. For example, you can ask Copilot to make some changes to a project and create a pull request.
GitHub Copilot CLI gives you quick access to a powerful AI agent, without having to leave your terminal. It can help you complete tasks more quickly by working on your behalf, and you can work iteratively with GitHub Copilot CLI to build the code you need.
Nota:
GitHub Copilot CLI is in public preview with data protection and subject to change.
Supported operating systems
- Linux
- macOS
- Windows from within Windows Subsystem for Linux (WSL). Native Windows support in Powershell is available, but experimental.
For installation instructions, see Installing GitHub Copilot CLI.
Modes of use
GitHub Copilot CLI can be used in two modes:
-
Interactive mode: Start an interactive session by using the
copilotcommand. This is the default mode for working with the CLI.In this mode, you can prompt Copilot to answer a question, or perform a task. You can react to Copilot's responses in the same session.
-
Programmatic mode: You can also pass the CLI a single prompt directly on the command line. You do this by using the
-por--promptcommand-line option. To allow Copilot to modify and execute files you should also use one of the approval options (see Allowing tools to be used without manual approval later in this article). For example:Bash copilot -p "Show me this week's commits and summarize them" --allow-tool 'shell(git)'
copilot -p "Show me this week's commits and summarize them" --allow-tool 'shell(git)'Alternatively, you can use a script to output command-line options and pipe this to
copilot. For example:Bash echo ./script-outputting-options.sh | copilot
echo ./script-outputting-options.sh | copilot

Precaución
If you use an automatic approval option such as --allow-all-tools, Copilot has the same access as you do to files on your computer, and can run any shell commands that you can run, without getting your prior approval. See Security considerations, later in this article.
Use cases for GitHub Copilot CLI
The following sections provide examples of tasks you can complete with GitHub Copilot CLI.
Local tasks
-
From within a project directory you can ask Copilot to make a change to the code in the project. For example:
Change the background-color of H1 headings to dark blueCopilot finds the CSS file where H1 headings are defined and changes the color value.
-
Ask Copilot to tell you about changes to a file:
Show me the last 5 changes made to the CHANGELOG.md file. Who changed the file, when, and give a brief summary of the changes they made -
Use Copilot to help you improve the code, or documentation, in your project.
-
Suggest improvements to content.js -
Rewrite the readme in this project to make it more accessible to newcomers
-
-
Use Copilot to help you perform Git operations.
-
Commit the changes to this repo -
Revert the last commit, leaving the changes unstaged
-
-
Ask Copilot to create an application from scratch—for example, as a proof of concept.
Use the create-next-app kit and tailwind CSS to create a next.js app. The app should be a dashboard built with data from the GitHub API. It should track this project's build success rate, average build duration, number of failed builds, and automated test pass rate. After creating the app, give me easy to follow instructions on how to build, run, and view the app in my browser. -
Ask Copilot to explain why a change it made is not working as expected, or tell Copilot to fix a problem with the last change it made. For example:
You said: "The application is now running on http://localhost:3002 and is fully functional!" but when I browse to that URL I get "This site can't be reached"
Tasks involving GitHub.com
-
Fetch and display details about your work from GitHub.com.
-
List my open PRsThis lists your open pull requests from any repository on GitHub. For more specific results, include the repository name in your prompt:
-
List all open issues assigned to me in OWNER/REPO
-
-
Ask Copilot to work on an issue:
I've been assigned this issue: https://github.com/octo-org/octo-repo/issues/1234. Start working on this for me in a suitably named branch. -
Ask Copilot to make file changes and raise a pull request on GitHub.com.
-
In the root of this repo, add a Node script called user-info.js that outputs information about the user who ran the script. Create a pull request to add this file to the repo on GitHub. -
Create a PR that updates the README at https://github.com/octo-org/octo-repo, changing the subheading "How to run" to "Example usage"
Copilot creates a pull request on GitHub.com, on your behalf. You are marked as the pull request author.
-
-
Ask Copilot to create an issue for you on GitHub.com.
Raise an improvement issue in octo-org/octo-repo. In src/someapp/somefile.py the `file = open('data.txt', 'r')` block opens a file but never closes it. -
Ask Copilot to check the code changes in a pull request.
Check the changes made in PR https://github.com/octo-org/octo-repo/pull/57575. Report any serious errors you find in these changes.Copilot responds in the CLI with a summary of any problems it finds.
-
Manage pull requests from GitHub Copilot CLI.
-
Merge all of the open PRs that I've created in octo-org/octo-repo -
Close PR #11 on octo-org/octo-repo
-
-
Find specific types of issues.
Use the GitHub MCP server to find good first issues for a new team member to work on from octo-org/octo-repoNota:
If you know that a specific MCP server can achieve a particular task, then specifying it in your prompt can help Copilot to deliver the results you want.
-
Find specific GitHub Actions workflows.
List any Actions workflows in this repo that add comments to PRs -
Create a GitHub Actions workflow.
Branch off from main and create a GitHub Actions workflow that will run on pull requests, or can be run manually. The workflow should run eslint to check for problems in the changes made in the PR. If warnings or errors are found these should be shown as messages in the diff view of the PR. I want to prevent code with errors from being merged into main so, if any errors are found, the workflow should cause the PR check to fail. Push the new branch and create a pull request.
Security considerations
When you use Copilot CLI, Copilot can perform tasks on your behalf, such as executing or modifying files, or running shell commands.
You should therefore always keep security considerations in mind when using Copilot CLI, just as you would when working directly with files yourself, or running commands directly in your terminal. You should always review suggested commands carefully when Copilot CLI requests your approval.
Trusted directories
When you start a GitHub Copilot CLI session, you'll be asked to confirm that you trust the files in, and below, the directory from which you launched the CLI.
Advertencia
- You should only launch Copilot CLI from directories that you trust. You should not use Copilot CLI in directories that may contain executable files you can't be sure you trust. Similarly, if you launch the CLI from a directory that contains sensitive or confidential data, or files that you don't want to be changed, you could inadvertently expose those files to risk. Typically, you should not launch Copilot CLI from your home directory.
- Scoping of permissions is heuristic and GitHub does not guarantee that all files outside trusted directories will be protected. See Risk mitigation later in this article.
You can choose to trust the current directory for:
- The currently running session only
- This and future sessions
If you choose to trust the directory for future sessions, the trusted directory prompt will not be displayed again. You should only choose this second option if you are sure that this location will always be a safe place for Copilot to operate.
You can edit the list of permanently trusted directories by amending the contents of the trusted_folders array in the CLI's config.json file. This is located, by default, in the ~/.copilot directory. You can change this location by setting the XDG_CONFIG_HOME environment variable.
Allowed tools
The first time that Copilot needs to use a tool that could be used to modify or execute a file—for example, touch, chmod, node, or sed—it will ask you whether you want to allow it to use that tool.
Typically, you can choose from three options:
1. Yes
2. Yes, and approve TOOL for the rest of the running session
3. No, and tell Copilot what to do differently (Esc)
Option 1 allows Copilot to run this particular command, this time only. The next time it needs to use this tool, it will ask you again.
Option 2 allows Copilot to use this tool again, without asking you for permission, for the duration of the currently running session. It will ask for your approval again in new sessions, or if you resume the current session in the future. If you choose this option, you are allowing Copilot to use this tool in any way it thinks is appropriate. For example, if Copilot asks you to allow it to run the command rm ./this-file.txt, and you choose option 2, then Copilot can run any rm command (for example, rm -rf ./*) during the current run of this session, without asking for your approval.
Option 3 cancels the proposed command and allows you to tell Copilot to try a different approach.
Allowing tools to be used without manual approval
There are three command-line options that you can use for either interactive or programmatic mode to determine tools that Copilot can use without asking for your approval:
-
--allow-all-toolsAllows Copilot to use any tool without asking for your approval.
For example, you can use this option with programmatic mode to allow the CLI to run any command. For example:
copilot -p "Revert the last commit" --allow-all-tools -
--deny-toolPrevents Copilot from using a specific tool.
This option takes precedence over the
--allow-all-toolsand--allow-tooloptions. -
--allow-toolAllows Copilot to use a specific tool without asking for your approval.
Using the approval options
The --deny-tool and --allow-tool options require one of the following arguments:
-
'shell(COMMAND)'For example,
copilot --deny-tool 'shell(rm)'prevents Copilot from using anyrmcommand.For
gitandghcommands, you can specify a particular first-level subcommand to allow or deny. For example:copilot --deny-tool 'shell(git push)'The tool specification is optional. For example,
copilot --allow-tool 'shell'allows Copilot to use any shell command without individual approval. -
'write'This argument allows or denies tools—other than shell commands—permission to modify files.
For example,
copilot --allow-tool 'write'allows Copilot to edit files without your individual approval. -
'MCP_SERVER_NAME'This argument allows or denies tools from the specified MCP server, where
MCP_SERVER_NAMEis the name of an MCP server that you have configured. Tools from the server are specified in parentheses, using the tool name that is registered with the MCP server. Using the server name without specifying a tool allows or denies all tools from that server.For example,
copilot --deny-tool 'My-MCP-Server(tool_name)'prevents Copilot from using the tool calledtool_namefrom the MCP server calledMy-MCP-Server.You can find an MCP server's name by entering
/mcpin the interactive mode of Copilot CLI and selecting the server from the list that's displayed.
Combining approval options
You can use a combination of approval options to determine exactly which tools Copilot can use without asking for your approval.
For example, to prevent Copilot from using the rm and git push commands, but automatically allow all other tools, use:
copilot --allow-all-tools --deny-tool 'shell(rm)' --deny-tool 'shell(git push)'
To prevent Copilot from using the tool tool_name from the MCP server named My-MCP-Server, but allow all other tools from that server to be used without individual approval, use:
copilot --allow-tool 'My-MCP-Server' --deny-tool 'My-MCP-Server(tool_name)'
Security implications of automatic tool approval
It's important to be aware of the security implications of using the approval command-line options. These options allow Copilot to execute commands needed to complete your request, without giving you the opportunity to review and approve those commands before they are run. While this streamlines workflows, and allows headless operation of the CLI, it increases the risk of unintended actions being taken that might result in data loss or corruption, or other security issues.
Risk mitigation
You can mitigate the risks associated with using the automatic approval options by using Copilot CLI in a restricted environment, such as a virtual machine, container, or dedicated system, without internet access. This confines any potential damage that could occur when allowing Copilot to execute commands that you have not reviewed and verified.
Model usage
The default model used by GitHub Copilot CLI is Claude Sonnet 4.5. GitHub reserves the right to change this model.
You can change the model used by GitHub Copilot CLI by using the /model slash command. Enter this command, then select a model from the list.
Each time you submit a prompt to Copilot in Copilot CLI's interactive mode, and each time you use Copilot CLI in programmatic mode, your monthly quota of Copilot premium requests is reduced by one, multiplied by the multiplier shown in parentheses in the model list. For example, Claude Sonnet 4.5 (1x) indicates that with this model each time you submit a prompt your quota of premium requests is reduced by one. For information about premium requests, see Requests in GitHub Copilot.
Feedback
If you have any feedback about GitHub Copilot CLI, please let us know by using the /feedback slash command in an interactive session and choosing one of the options. You can complete a private feedback survey, submit a bug report, or suggest a new feature.