メモ
この記事は、パブリック リポジトリの所有者としてのリポジトリ レベルのアドバイザリの編集に適用されます。
リポジトリの所有者ではないユーザーは、github.com/advisories にある GitHub Advisory Database のグローバル セキュリティ アドバイザリに貢献できます。 グローバル アドバイザリを編集しても、リポジトリでのアドバイザリの表示方法が変更されたり、影響を受けたりすることはありません。 詳しくは、「Editing security advisories in the GitHub Advisory Database」をご覧ください。
Prerequisites
Before you can publish a security advisory or request a CVE identification number, you must create a draft security advisory and provide information about the versions of your project affected by the security vulnerability. For more information, see Creating a repository security advisory.
If you've created a security advisory but haven't yet provided details about the versions of your project that the security vulnerability affects, you can edit the security advisory. For more information, see Editing a repository security advisory.
About publishing a security advisory
When you publish a security advisory, you notify your community about the security vulnerability that the security advisory addresses. Publishing a security advisory makes it easier for your community to update package dependencies and research the impact of the security vulnerability.
リポジトリ セキュリティ アドバイザリを使い、すでに別の場所で公開したセキュリティ脆弱性の詳細をコピーして新しいセキュリティアドバイザリに貼り付けることにより、その詳細を再度公開できます。
Before you publish a security advisory, you can privately collaborate to fix the vulnerability in a temporary private fork. For more information, see Collaborating in a temporary private fork to resolve a repository security vulnerability.
警告
Whenever possible, you should always add a fix version to a security advisory prior to publishing the advisory. If you don't, the advisory will be published without a fixed version, and Dependabot will alert your users about the issue, without offering any safe version to update to.
We recommend you take the following steps in these different situations:
- If a fix version is imminently available, and you are able to, wait to disclose the issue when the fix is ready.
- If a fix version is in development but not yet available, mention this in the advisory, and edit the advisory later, after publication.
- If you are not planning to fix the issue, be clear about it in the advisory so that your users don't contact you to ask when a fix will be made. In this case, it is helpful to include steps users can take to mitigate the issue.
When you publish a draft advisory from a public repository, everyone is able to see:
- The current version of the advisory data.
- Any advisory credits that the credited users have accepted.
メモ
The general public will never have access to the edit history of the advisory, and will only see the published version.
After you publish a security advisory, the URL for the security advisory will remain the same as before you published the security advisory. Anyone with read access to the repository can see the security advisory. Collaborators on the security advisory can continue to view past conversations, including the full comment stream, in the security advisory unless someone with admin permissions removes the collaborator from the security advisory.
If you need to update or correct information in a security advisory that you've published, you can edit the security advisory. For more information, see Editing a repository security advisory.
Publishing a security advisory
Publishing a security advisory deletes the temporary private fork for the security advisory.
-
GitHub で、リポジトリのメイン ページに移動します。
-
リポジトリ名の下にある [Security] をクリックします。 [Security] タブが表示されない場合は、 ドロップダウン メニューを選んでから、[Security] をクリックします。
![タブを示すリポジトリ ヘッダーのスクリーンショット。 [セキュリティ] タブが濃いオレンジ色の枠線で強調表示されています。](/assets/cb-17801/images/help/repository/security-tab.png)
-
左側のサイドバーの [Reporting] で、 [Advisories] をクリックします。
-
In the "Security Advisories" list, click the name of the security advisory you'd like to publish.
-
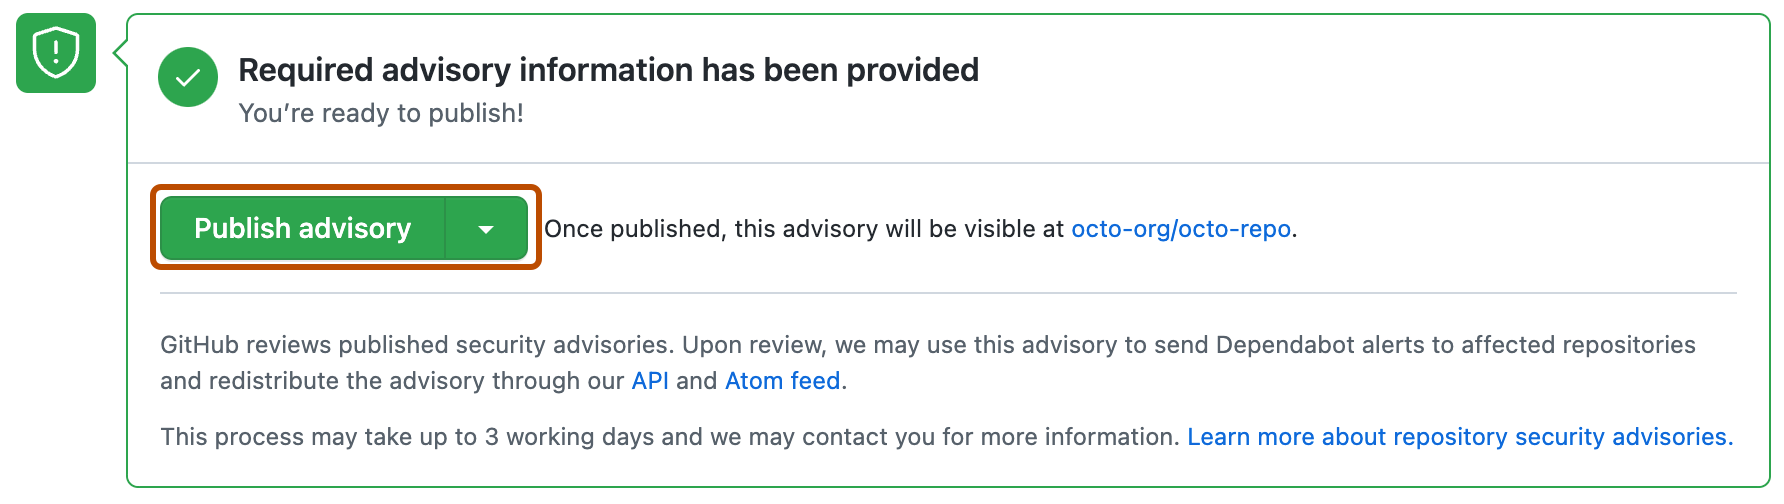
Scroll to the bottom of the advisory form and click Publish advisory.
![タブを示すリポジトリ ヘッダーのスクリーンショット。 [セキュリティ] タブが濃いオレンジ色の枠線で強調表示されています。](/assets/cb-17801/mw-1440/images/help/repository/security-tab.webp)

メモ
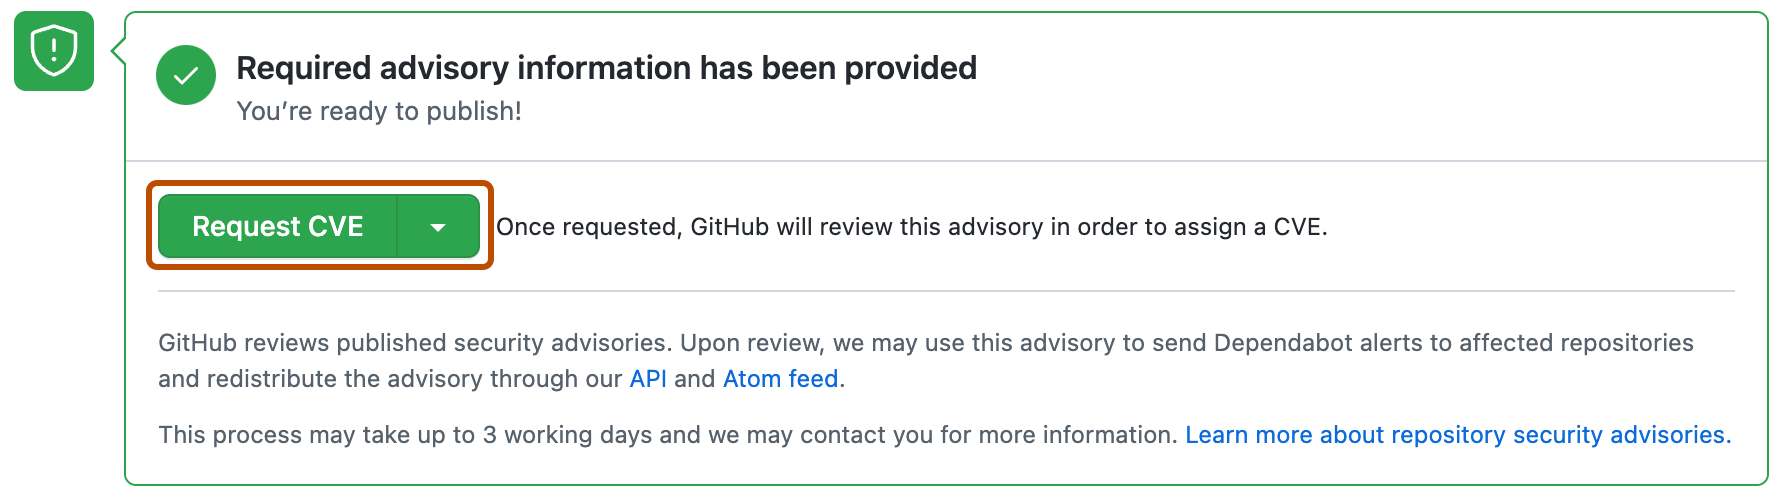
If you selected "Request CVE ID later", you will see a Request CVE button in place of the Publish advisory button. For more information, see Requesting a CVE identification number (Optional) below.
Dependabot alerts for published security advisories
GitHubは、公開されたそれぞれのセキュリティアドバイザリをレビューし、GitHub Advisory Databaseに追加し、そのセキュリティアドバイザリを使って影響されるリポジトリにDependabot alertsを送信することがあります。 セキュリティアドバイザリがフォークから生ずる場合、ユニークな名前の下でパブリックなパッケージレジストリに公開されたパッケージをフォークが所有しているときにのみアラートが送信されます。 このプロセスには最大で72時間がかかり、GitHubがさらなる情報を求めてあなたに連絡することがあります。
Dependabot alerts の詳細については、「Dependabot アラートについて」と「Dependabot のセキュリティ アップデート」を参照してください。 GitHub Advisory Database の詳細については、「Browsing security advisories in the GitHub Advisory Database」を参照してください。
Requesting a CVE identification number (Optional)
プロジェクト中のセキュリティ脆弱性に対する CVE 識別番号が必要であり、まだ持っていない場合は、GitHub に CVE 識別番号を要求できます。 GitHubは通常、リクエストを72時間以内にレビューします。 CVE識別番号をリクエストしても、セキュリティアドバイザリはパブリックにはなりません。 セキュリティ アドバイザリが CVE の対象である場合、GitHub によってそのアドバイザリ用に CVE 識別番号が予約されます。 ユーザーがセキュリティ アドバイザリを公開した後、GitHub は CVE の詳細を公開します。 セキュリティ アドバイザリに対する管理者アクセス許可を持っているすべてのユーザーは、CVE 識別番号を要求できます。
使いたい CVE がすでにある場合は (たとえば、GitHub 以外の CVE Numbering Authority (CNA) を使う場合)、その CVE をセキュリティ アドバイザリ フォームに追加します。 これはたとえば、公開時に送信することを計画している他の通信先と、アドバイザリが一貫しているようにしたい場合に生じるかもしれません。 CVE が別の CNA によってカバーされている場合、GitHub ではプロジェクトにそれを割り当てることはできません。 For more information, see リポジトリ セキュリティ アドバイザリについて.
-
GitHub で、リポジトリのメイン ページに移動します。
-
リポジトリ名の下にある [Security] をクリックします。 [Security] タブが表示されない場合は、 ドロップダウン メニューを選んでから、[Security] をクリックします。
-
左側のサイドバーの [Reporting] で、 [Advisories] をクリックします。
-
In the "Security Advisories" list, click the name of the security advisory you'd like to request a CVE identification number for.
-
Scroll to the bottom of the advisory form and click Request CVE.